Saturday, June 13, 2015

miscellaneous: car wars: conversion bits - heavy steam armament pack

When weaponizing your favorite die-cast metal cars for use in gaming, there aren't exactly a wealth of in-scale options. 1:64th scale roughly translates to 20mm gaming miniatures, which are few and far between. Most of the bits currently in my possession are either cartoonishly large (Games Workshop, Privateer Press) or a laughably small (Flames of War, Dropzone Commander) when placed on a vehicle. This can work - some of my favorite conversions are smattered in Ork bitz - but usually give the cars an over-the-top, "heroic-scale" vibe to them.

The go-to for in-scale kit seems to be Stan Johansen Miniatures' Road Warrior line. I've also seen encouraging posts regarding Sgts' Mess's weapon kits as well. I plan to order a smattering of both soon and report back my findings.

In the meantime, while perusing the new release wall of my FLGS, I found the following...

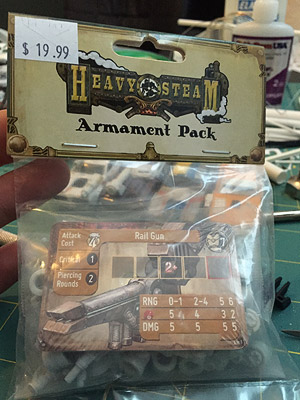
A peek through the packaging had me calculating part per piece ($1 per arm) and that if the weapons looked silly on the cars they'd probably make great bionics on 40K Orkz.

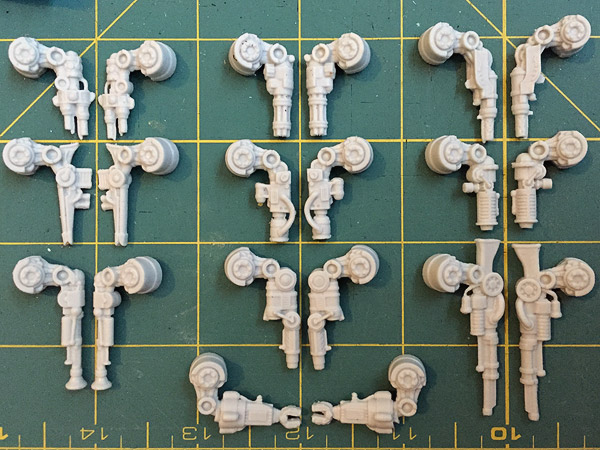
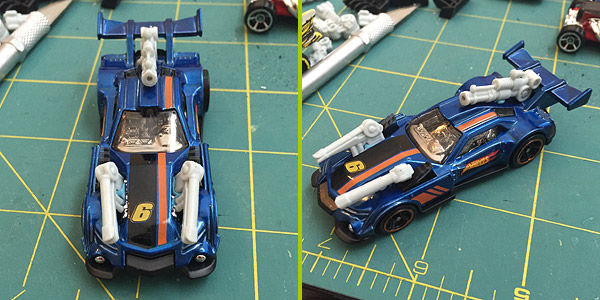
On opening the pack I found 10 weapon arms, each with a right and left variant. Among the 10 weapons, there are some immediate winners with little need for converting before use. I count the gatling gun, blunderbuss and (sniper?) rifle among these. Some have far less obvious use - the short, double-barreled arm and claw/magnet arm chief among them. However, with a little imagination and a sharp exact, even these can find purpose somewhere.


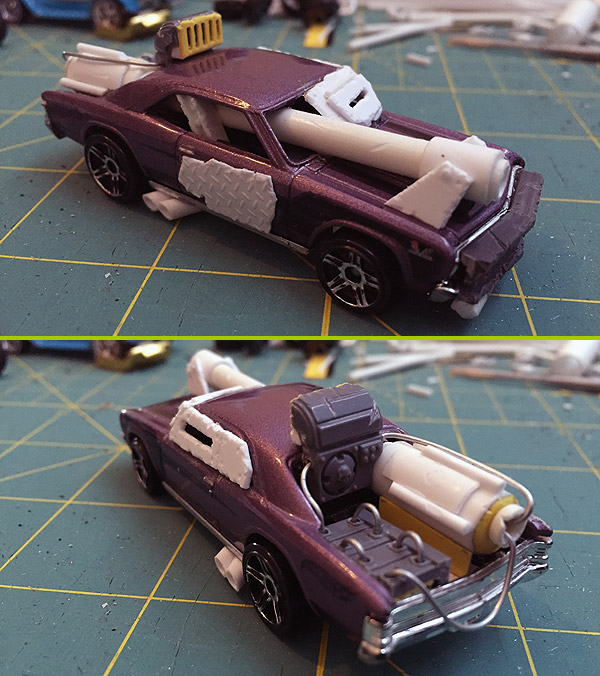
"Scorpio" with linked small lasers and a rear-mounted mortar/cannon?

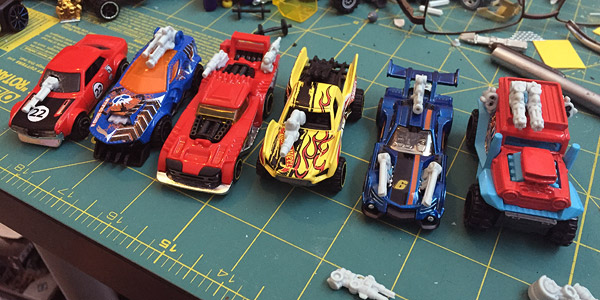
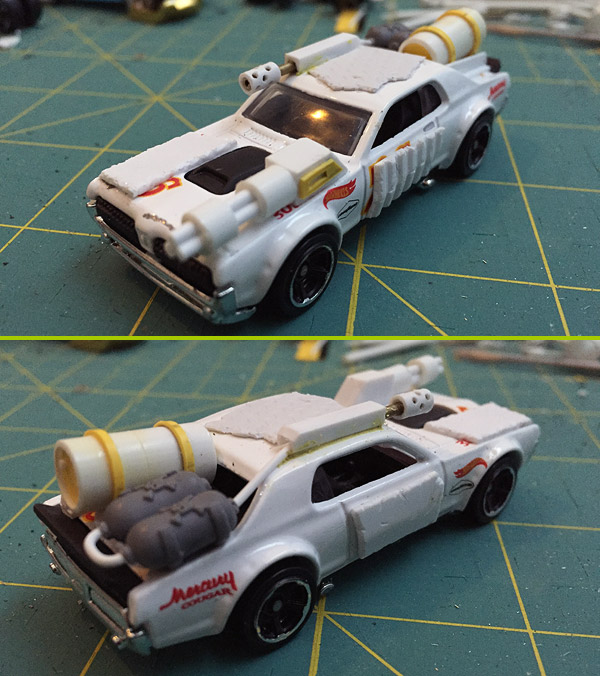
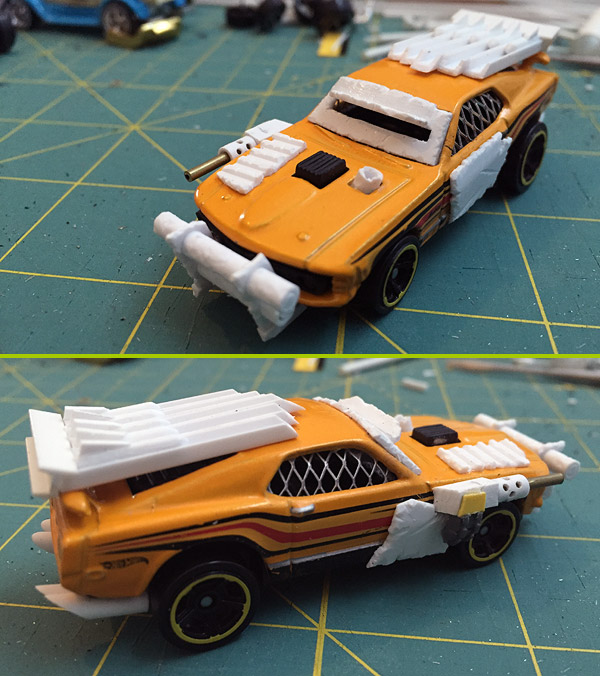
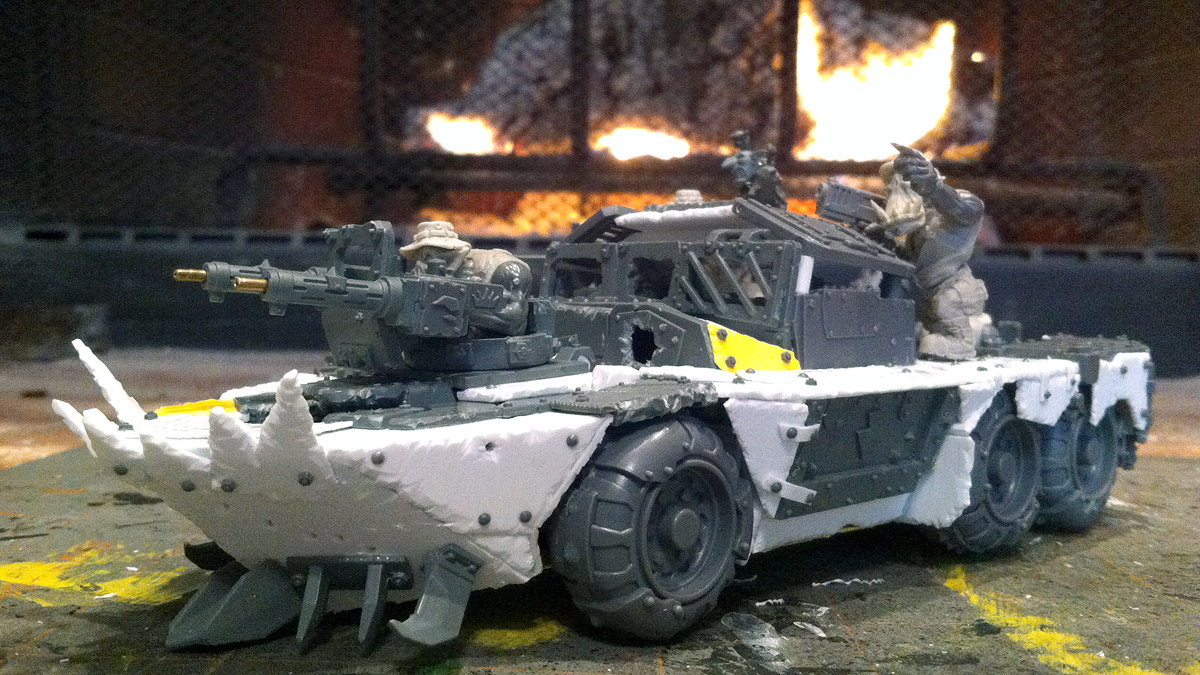
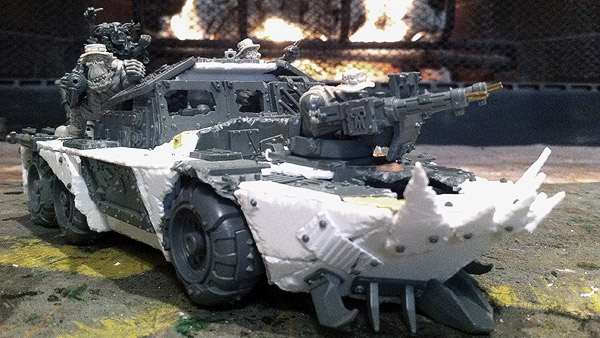
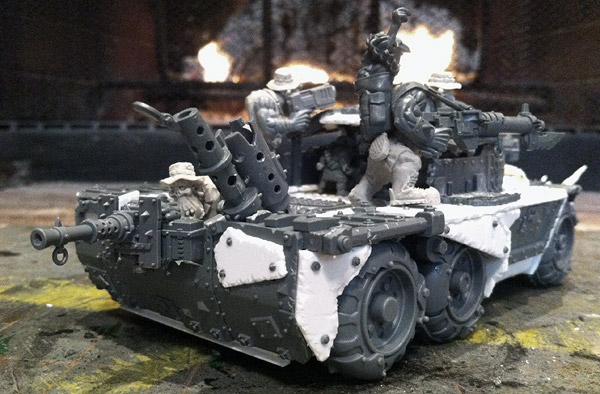
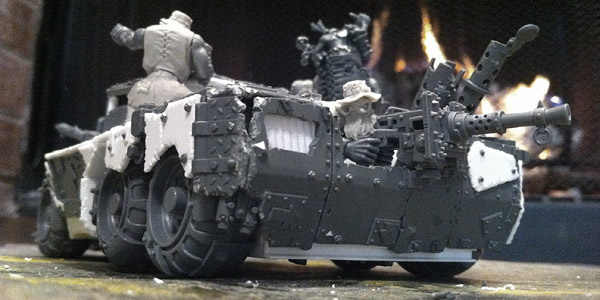
Various cars with mock-up of Heavy Steam armaments

As you can see, they're still a bit large/cartoonish, though not as bad as using straight 28mm or "heroic scale" bits. I think the blunderbuss (with end chopped off and barrel drilled out) scales nicely and is likely to become a recoil-less rifle (see above, far left). Even the claw arms can be cannibalized into something else. With a few cuts and two holes drilled out, they make great micro-missile launchers (see above, far right).

I'm glad I got the kit - I'd been wondering how to arm my more crazy/futuristic looking cars for awhile now. The Heavy Steam Armament Pack worked great for this purpose and had prototypes up and running in no time. However, despite its ease of use and my pleasure with the kit overall, I find it unlikely I will buy another of these packs for use in Car Wars. First, the material has an almost rubbery consistency that makes it easy to cut but soft on taking additional drilled or carved detail. Also, with 40% of the arms needing heavy modification to make them useful/recognizable., I feel the price point is just a tad too high.

Bottom-line: If you like the aesthetic and don't mind a bit of extra conversion work, one of these should work its way into your toolbox.

Wednesday, June 10, 2015

build: car wars: and so it begins...

Between Mad Max: Fury Road’s release and the ridiculously cool conversions of Dave Taylor, I was pretty much destined to start a game of vehicular mayhem. After some research into various rule systems and feeling the way the wind was shifting, I settled on Car Wars’ 5th Edition. It’s popular, it’s scaled correctly, and after a second look at the rules, it sounds easier than first suspected.

Of course, like the kit basher/modeller I am, I started working on cars well before I’d read the rules. After trips to Target and Toys’R’Us, I had a handful (or three) of die-cast cars ready to be transformed!

These cars (along with more-than-I-care-to-admit subsequent purchases) were divided into “tribes” based on theme/vehicle type. Some examples of which are below.


(clockwise from top-left) “The Cabbies”, “Retro-future”, “Rat-Rods”, “Serial Boxes”

Not quite ready to start with a wasteland tribe, I decided to work on the cars I felt might still be, at least tangentially, part of civilization. The kind of car driven by Max Rockatansky or one of the other MFP “officers” once civilization falls completely to shit.


’68 Mercury Cougar

A simple car for a man with simple tastes. The flame-thrower came first, but felt lackluster as sole armament. It may be off-scale, but I feel the high-caliber chain-gun rounds out the armament and car’s balance nicely.


’67 Chevelle SS

This one took some time. Inspired by the ridiculously awesome tank-turret flat-bed in Death Race: Inferno, I knew I wanted a cannon passing through the cab. After much consideration, I went full-blown crazy with it, deciding a laser-destroyer needed a chain of batteries and a (scoop-cooled?) computer to run the thing.


’69 Ford Torino Talledega

I’ll be honest, the seat (plucked from the Chevelle above) with the guns came first. The original plan called for it to be a magnetized “turret” sticking up out of the car’s back window. That… didn’t look nearly as cool as it sounded, so the concept shifted to a car designed to get in front of everyone and stay there. Thus the giant armor plate bracketed to the back with relatively little everywhere else.


Mustang Mach 1

I knew early on I wanted to do a car with rockets, and when I saw the spoiler on this thing, it seemed ripe for laying a Katyusha-inspired rocket rack. Add a backup weapon and a police-style ram in the front, and she looks ready to take on some bad guys!

I’ve got a couple more cars destined for this grouping, but have been temporarily distracted by piecing together “Amateur Night” or “Mirror Match” cars - four identical cars meant to even the playing field and be used for demos. I hope to have pics of those soon…

Monday, January 5, 2015

miscellaneous: deep strikin' santa 2015, sent

As it happened, the day I received my Deep Strikin' Santa package from Total Anorky I was busy by the fire, hobbying the final touches (rivets!) to the present for my giftee - Lt. Gregor.

A long-time Ork player and master plasti-craftsman, Gregor is known among the scratch-build and kit-bash community for painstakingly working on an Orkish Navy. His kit-bashed masterpieces include boats built on Land Raider and Rhino frames, a "Red Orktober" submarine based off a Chimera chassis, and some of the coolest deep-sea Mega-Armoured Nobz I've ever had the pleasure to witness. Seriously. Click the link. I'll wait.

His builds are inspirational, and it was both exciting and terrifying to draw his name for DSS.

After perusing 3rd party bitz makers for pirate-y Ork heads, I happened across Kromlech's Anzac Ork heads and Afrika Korp torsos and came up with a plan. I've spent almost all my hobby time since October inching towards a boat worthy of Kap'n Gregor's fleet. I hope I've done the ol' Mek justice.


Ork River Patrol Trukk! (clickable)


Turret and mid-ship Gunner


Rear Gunner


Rear Gunner (low angle)


Turret Gunner and Kap'n


Grot Pilots and other details


Packed and ready for "ship"ping!

All-in-all it a ton of fun returning to the army and scratch-building that got me started with 40K. I've got big plans for 30K Mechanicum at the moment, but not before another Ork project that could stack well with a long-haul (and long-pined for) build towards a fully functional Speed Freekz army...

(This post was originally written on 12.24.2014 while awaiting confirmation of the package's arrival.)

Saturday, December 20, 2014

miscellaneous: deep strikin' santa 2015, received

After sitting a year out, I've rejoined the fun and festivities that are the Freebootaz Forum's annual "Deep Strikin' Santa" event. For those unfamiliar, it's essentially a "secret santa" event where participating forum members email an organizer that they'd like to participate, an army or two they'd like to get a gift for, and a shipping address. The organizer then randomizes the list and you find out who you'll be gifting. You then get to work as your Santa does the same!

While my gift is currently making its way up North to its unsuspecting recipient, I received a nice box from FedEx last night. I put it under the tree, but was implored by Total Anorky - my Santa and our resident AmbassadORK - to open it post haste, which I did. Inside, I was greeted with the following card...

...and a model that, quite frankly, took a bit of a thrashing. Despite being damaged, I was floored with the gift. The creative, haphazard combination of bits and paint immediately put a smile on my face and hit me right in the nostalgia. My first 40K army was Orkz.

After a bit of repair work, I'm finally able to share the badassery of TA's present with the rest of the world!

What started as a coffee can and junction box became a beautifully Orky tribute to the GW Bastion with the loving application of chunkily gribbly details, seriously vintage bits, and a splash (or two) of slap-dash paint.

Seriously? Necromunda plastic bulkheads!? In a kit-bashed Bastion for someone else? Total Anorky's a frickin' madman! And he cleverly left a reminder of that fact on an oil drum so I can never forget which Warboss gifted me this crazy hideout. Not that I could ever forget. I loves it too much!

Looks like the local boyz seem as taken with their new digs as I am! I'll definitely be keeping it as handy inspiration for some Ork models I'll be starting soon. There's an unofficial Adepticon event I picked up some Kans/Dreads for...

Monday, September 29, 2014

build: work-in-progress: imperial city, part 3

Been a bit since I updated, but not for lack of effort. The landing pad has some design issues that need to be ironed out, so I started blending a Shrine of the Aquila with some Basilica Administratum bits. Been at it for a couple weeks and I think it's getting there...


Front of the Front


Back of the Front


Back Corner 1


Back Corner 2

Like the Sanctum Imperialis bits before, these segments are designed to work in GW's "Ruined Corners" mode, or be placed together as a cohesive whole.


Full Overhead View

Still have a bit of detailing to do. I plan to add buttresses from the Basilica set, and rubble all around. In the last pic, you can see the ruined tile floor I'll be adding as well. Not sure if that's something I'll retroactively add to the other buildings yet, but it's pretty likely. Oh, and I need to source some extra floor tiles from the Shrine set to add some "roof" to Back Corner 1.

Hope to have the interior detailing done before the end of next week, but it'll have to get done on school days as I'm busy with Tough Mudder the majority of the weekend. I look forward to showing you what else I've got planned for these kits!

Tuesday, September 2, 2014

build: work-in-progress: imperial city, part 2

The aesthetic I used when assembling my Manufactorum sprues is cribbed entirely from the "Tetanus IV" terrain ManOwarrioR brought to U.S. BootaCon.


"Tetanus IV" by ManOwarrioR

The towers and walkways here are awesome! The walkways and platforms popping off each tower allowed them to be reconfigured in all kinds of new and interesting patterns. Unfortunately, I don't have access to anywhere near the same quantity of sprue, so I'm having to be a bit cautious with their layout and design.

For example, this "big tower" has a default configuration whose damage scales appropriately between the levels. However, it is not glued and, once magnetized, will be interchangeable with all the other Manufactorum pieces in the set. If I do it right, this should allow for a wealth of layout opportunities both horizontally and verticality.


Front and Back


Deconstructed!


And reconstructed as an... Outpost? Courtyard?

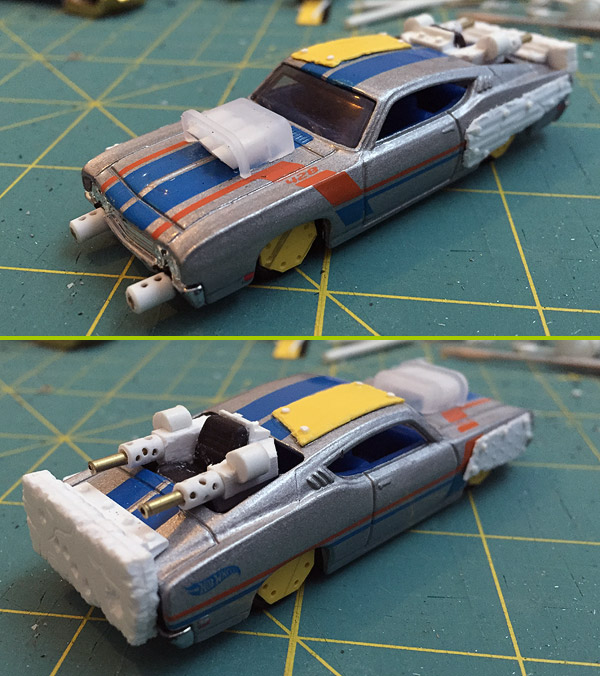
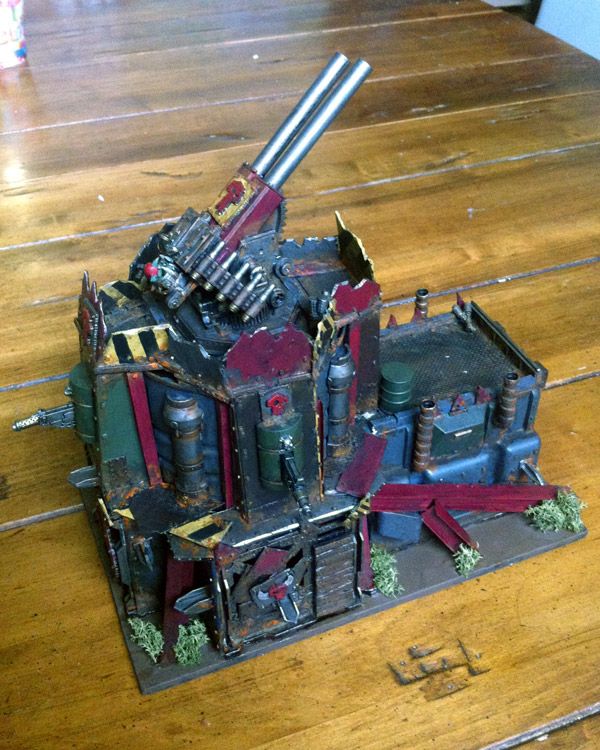
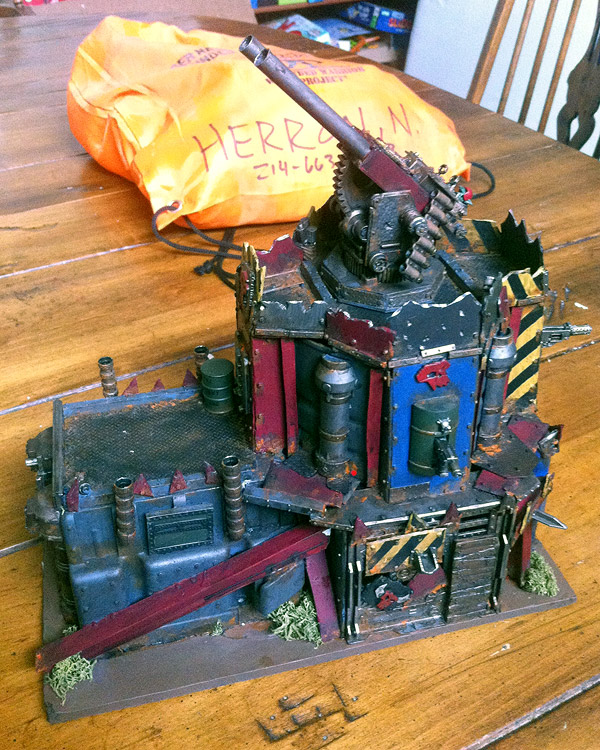
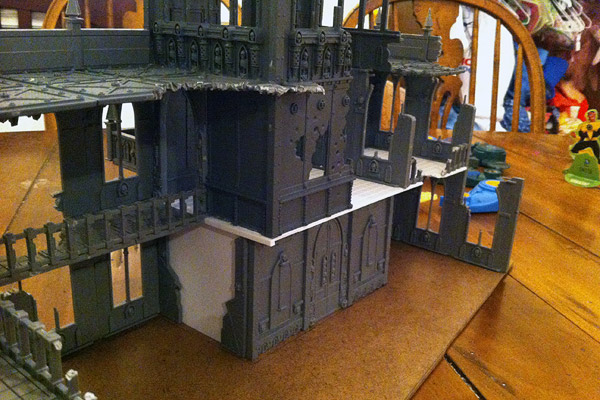
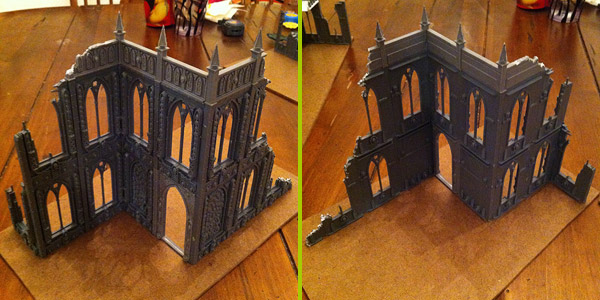
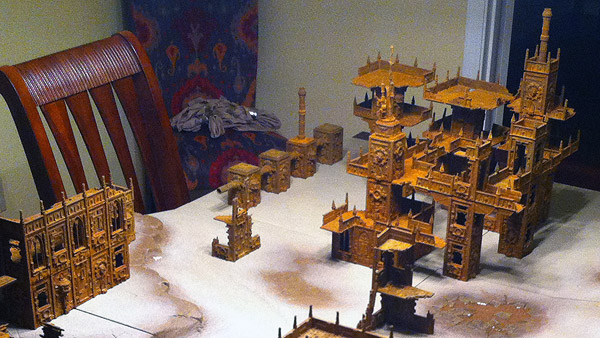
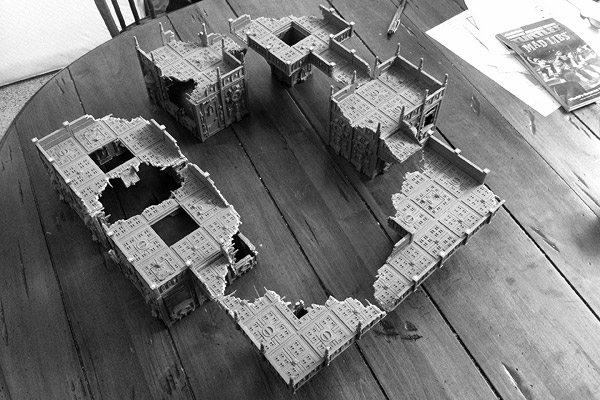
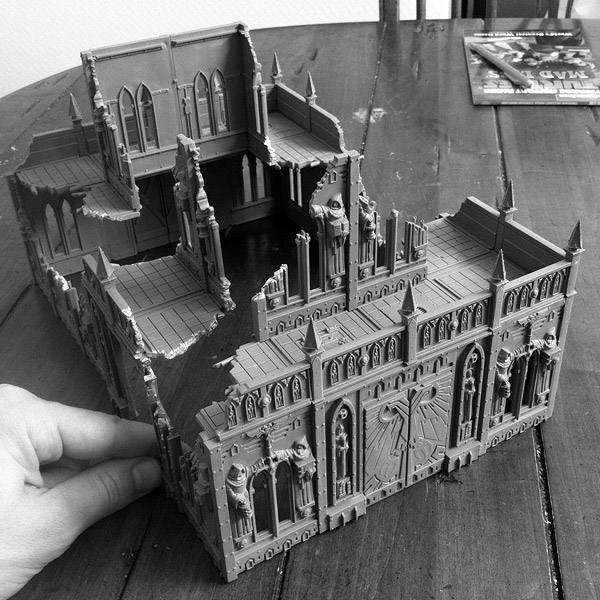
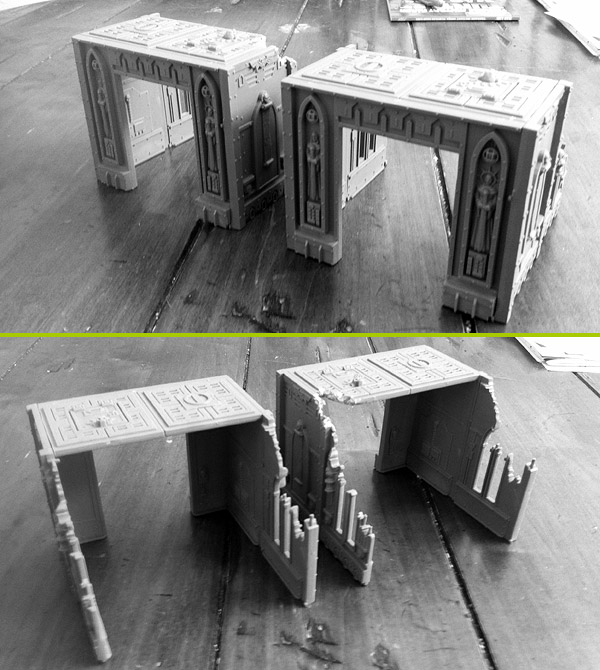
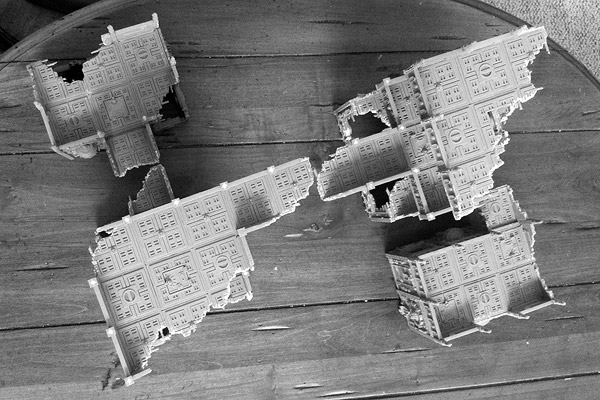
Refinery? Way station?

I think it's going to work out quite well. If I can manage to get my hands on another Imperial City, I plan to add some "walkway" towers like the ones that inspired me. Might even do some kit-bashing with leftover Imex refinery pieces I've got hanging 'round here somewhere...

Sunday, August 31, 2014

build: work-in-progress: imperial city, part 1

Spurred by some glorious terrain at the 1st Annual U.S. BootaCon - a nerd-tastic end-of-Summer vacation where a dozen Freebootaz rented a house near Memphis and gamed, laughed, ate and drank for three straight days - I pulled out my dusty "Imperial City" box and started playing with the pieces.

Many years ago, when I received the box for Christmas, I had put together a handful of panels, but never crafted anything resembling a building. The first step was to take these panels and finish them out into a few pieces.

I get that the Games Workshop kit is designed to make ruins, and all of my building will be damaged to some degree, but it drives me nuts how all of their examples are "ruined corners." So, starting with these guys, I plan for all facades to have corresponding pieces that make "matching sets" to resemble complete buildings.


Sanctum: Front


Sanctum: Back


Sanctum: Side

I'll base them on 1/8" MDF board cut with just enough edge to add some rubble and/or sand. If I do it right, I think it'll make a pretty compelling set of terrain.

While trying to figure out what to do with the remaining Sanctum Imperialis pieces, I together a few bits to make blasted sewer or bunker entrances. They'll initially make some nice scatter terrain, but I eventually hope to use them in conjunction with a future "Zone Mortalis" style terrain project.

Next up, the Manufactorum!